Making Kombucha

A couple of months ago I realized that I have been making and enjoying my own kombucha for the last two years now. I know it was two years, because I was bartending at the time in downtown Nashville at Pinewood Social, when a fellow employee and I were talking about kombucha. She had been making her own for the past little while and had an extra SCOBY. She offered it to me and I eagerly accepted. 

I had always wanted to make my own kombucha, but I had no idea how to do it. Chelsea had made it back in the day when she lived in Hawaii, but didn’t really have the desire to do it again. I loved the health benefits of kombucha and the fizziness and the different flavors. I don’t drink sodas, except for plain soda, so this gives me something fun to drink that’s actually good for me.

The hardest part in my mind to making your own kombucha was getting the SCOBY. Kind of like getting a queen bee for your bee hive, its essential. SCOBY stands for Symbiotic Culture of Bacteria and Yeast. It’s the fermentation starter that kicks off kombucha fermentation.

So now that I had my queen, I needed to learn how to take care of her and actually make the kombucha. Sure, I could watch some youtube videos and learn everything I needed to know from the internet, but I’m more of a hands on type of person when it comes to learning tactile things. I want to see it in action and talk about it and ask questions and all of that helps me understand and remember it.

Well it just so happened that our dear friend Shann, (Shannon Larsen) and her boyfriend, now fiancé Zander, (Alexander Puentes) came to visit us. Zander had been brewing his own kombucha for years and even made a PDF on how to do it. I still reference it to make sure I’m doing everything right. 

He walked me through the steps and I am sharing those with you in this blog post and in the youtube video my kids and I made last year. Brewing your own ‘booch’ is a little bit of a process and takes some time. Not too much, but there are a few steps you need to remember.

Click on the video to see how we make it.

A SCOBY is a living organism that continues to grow. It is also called “the mother” because it will eventually have “babies”. These can be given away, like my friend did for me and like I have done for several neighbors and friends over the last couple of years. Or they can be saved or used to make multiple batches. Mine is getting really big at the moment and I am hoping it will split off soon so I can have another one and make more. Each batch gives me 5 pint sized glass bottles of kombucha. So if I can have two going at once, then we can have plenty to both enjoy and share with friends.

I love giving away my kombucha to friends. When I find out someone is into it, I’ll give them a bottle. It’s so fun to say, here you go, I made this. Enjoy. Then you know it’s going to taste good and be good for them. How awesome is that? If they’re really into it, I’ll offer them one of my SCOBY offspring and they can start to make their own.

Last Summer I had two SCOBY’s going and we went on vacation. When we came back, fruit flies had gotten into one of them. So I had to let it go. Fortunately I had the second one, which I am still using today. 

I try to make a new batch every 10 days or so, but sometimes I’ll get out of the habit and it sits for a couple of weeks and that’s ok. The SCOBY just keeps on livin’.

We use our ‘booch’ a few different ways. 

In the morning for breakfast, I pour a little shot for the boys. To get them some healthy probiotics to start the day.

I also make popsicles with it and we enjoy these in the afternoons.

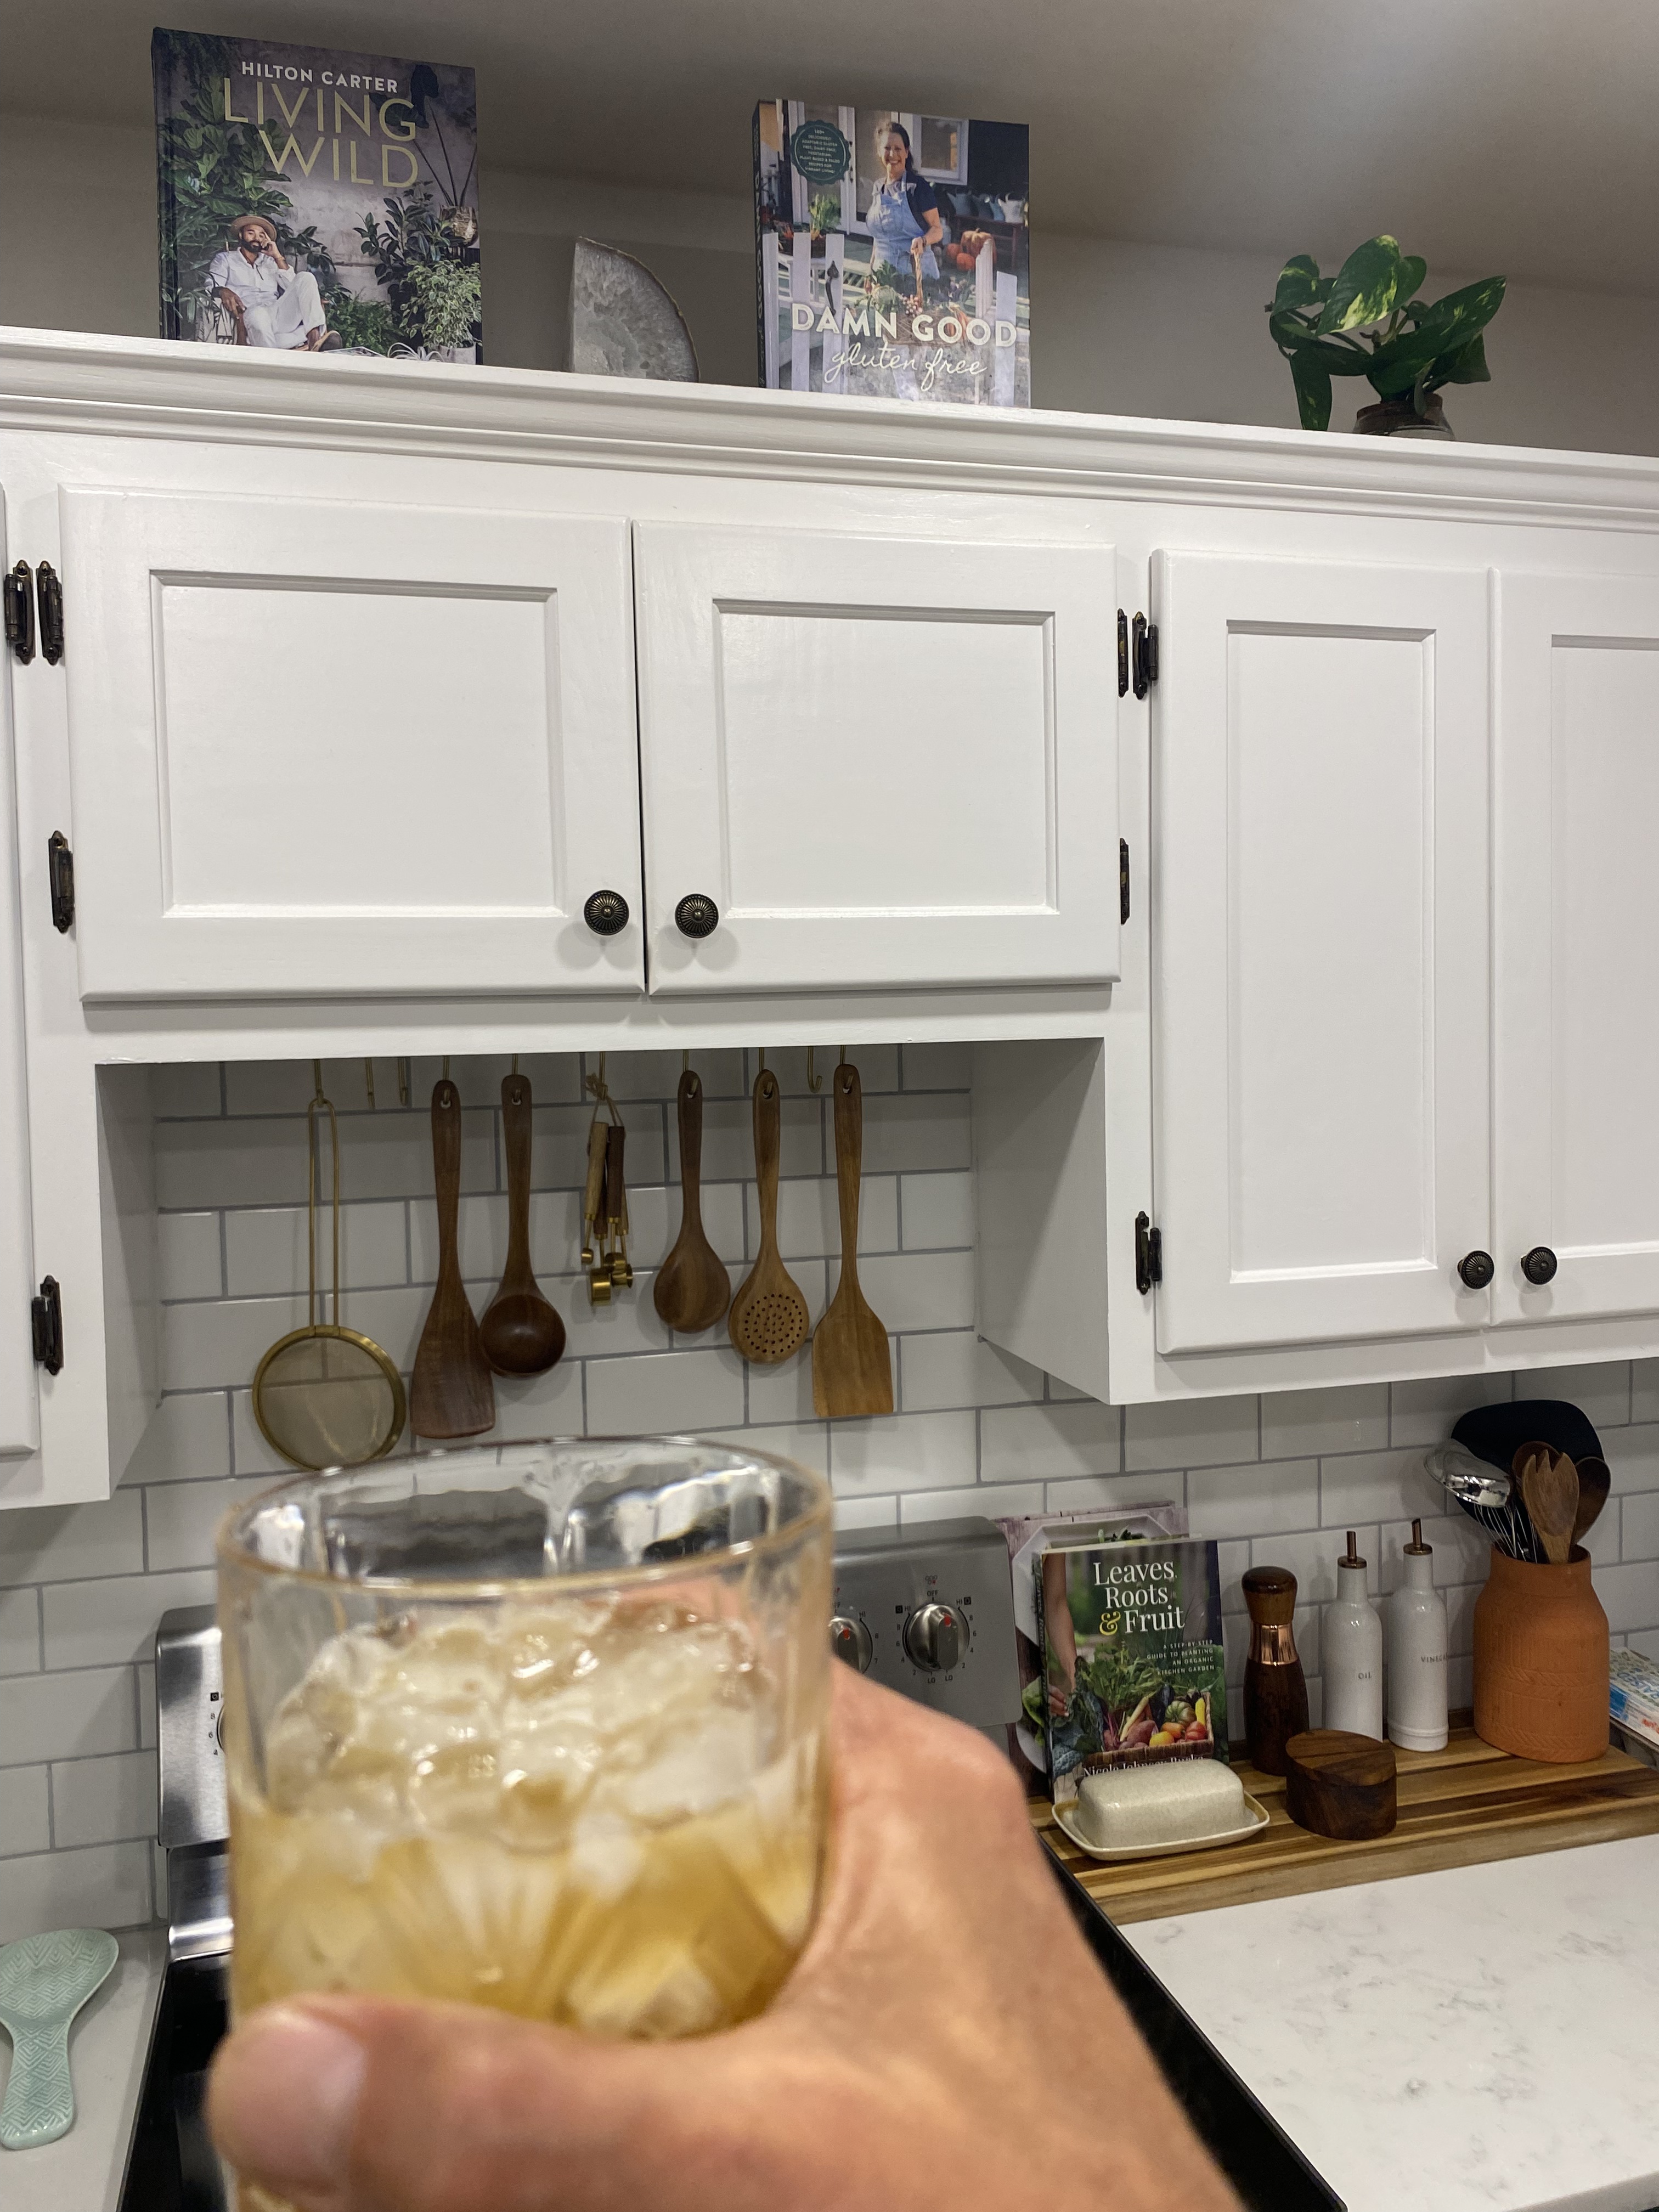
Finally at night, when I’m craving a drink besides water and don’t want to drink alcohol, then a little kombucha and soda over ice is a satisfying mocktail. 

I love finding healthy things that the whole family enjoys. It also feels good to be able to make this on my own. I know where it comes from. Me, my kitchen. I’m putting my positive energy into it when I make it. I love doing it. It’s fun to make things, I love drinking it and it’s good for me. So it seems like it’s one of those beautiful things that hits on all levels.  If you want to give it a try and make your own, go for it. If you find yourself a SCOBY, then check back here for what to do next. Here are the steps that I learned from my friend Zander with my own personal modifications.

First, bring 6 cups of water to a boil. Remove from heat, then, add 6 -7 bags of black tea and steep for 30 minutes. Squeeze and remove the tea bags and add 1 cup of organic cane sugar. Stir until dissolved. 

Now fill your pitcher with 8 cups of filtered water. Add the hot tea. The temperature of the tea should cool to under 100 degrees.

Add the 2 cups of the starter liquid that came with your SCOBY and stir with a wooden spoon, (it doesn’t like metal).

Now add the SCOBY.

Cover with a cloth and use a rubber band to keep it on. This will keep out fruit flies or any other bugs, but still allowing the SCOBY to breathe. 

That comes up to a total of 16 cups of liquid, which is one gallon or 128 ounces. So make sure you have a gallon size glass container to keep your brew. You also want an opening at the top of at least 3 or more inches so your SCOBY can grow and breathe. 

That’s it! Now you just have to wait. Anywhere from 7-21 days, depending on several factors, but I’ve found that 10 days is the sweet spot for me. The temperature has a lot to do with it. We keep our house pretty warm and I place it in a cabinet. You can start tasting after 5 days and when it seems ready to you, then it’s time to move on to the 2nd Ferment

The Second Ferment is the fun part where you get to flavor your kombucha. There are many different flavors and recipes out there, but we usually just keep it simple and do Lemon and Ginger.

This is the flavor that my wife and kids like the best. I will often experiment with different flavor combinations, depending on what fruits are in season and what we have at the house at the time of the 2nd ferment. But Lemon and Ginger always seems to be the best. 

Before you put the kombucha in the bottles, be sure to take out the SCOBY and 2 cups of the liquid and put it into a glass container. Cover this with a cloth and rubber band like you just did before and now you have your starter for the next batch. You can get started and make another one right away, going back to step 1 and boiling tea or simply let it sit in your cupboard for up to a month or more. Give it a stir every week or so, just to keep it happy. 

Today I did 5 bottles of Lemon/Ginger and 1 bottle of the Lilac syrup that we made from our lilac bushes that were blooming this week. They only bloom for a couple of weeks a year, so I thought, why not give it a try. 

If you have a juicer, you can experiment with different flavor combinations and see what you like the best. 

For the lemon and ginger, all I do is peel the ginger with a spoon, then dice it up into little chunks and drop 4-5 little cubes into the bottle. Then I will squeeze the juice out of 1 lemon and then evenly distribute it in the 5 bottles with the ginger. 

Once you have your flavor in the bottle, add the kombucha to the bottle and fill it almost to the top, leaving about an inch of air. This helps the carbonation process. Put the cap on and turn it over a couple of times to mix up the ingredients. 

All you have to do now is wait a few days and your brew will be ready to go. 3 days seems to be the sweet spot for me. By having the bottles capped, the CO2 has no way to escape, so this creates natural carbonation. When they have reached your desired carbonation, then put them in the fridge and enjoy. Refrigerating the kombucha will pretty much stop the carbonation process. The longer you leave them out of the fridge, the more carbonated they will get, but they will also get more sour. So again, depending on your preference, find your sweet spot. 

Apparently, if you leave them out too long, they can explode. Although I’ve never had this happen to me or anyone I know, I have had them give out quite a ‘pop’ when I burp them after they’ve been fermenting for more than 3 days. 

Ok, there you go. Have fun and enjoy. There are so many health benefits to drinking kombucha and so many different ways to enjoy it. I’d love to hear about your experience. Cheers!

The Love Curry

Post Curry Bliss

Our whole family loves curry. Which is interesting because I never had it growing up. My mom and grandmother were pretty traditional “Southern” cooks. So everything had lots of butter and was very protein and carb focused. I ate this way or my own variation of it until I found the yoga path. Then I began to focus more on the vegetables and less on the meat and carbs. Chelsea and I have been making curry since we first met 10 years ago. She had just moved here from Hawaii and had this cookbook from a Vegan chef named Todd and we have used his recipe as a base all these years. It is the one thing we have consistently eaten every week or two since we’ve been together. Now both our boys, Matteo (4) and Owen (1) eat and love it too.

Many cultures and traditions have a variation of curry, but not really America. So when I introduced my parents to it, they hadn’t had anything like it before. We traveled a lot as a family growing up, so we sampled a lot of different delicacies from our travels. However, most of our trips were within the United States, Canada, Mexico and Europe. Fun fact, I have been to every state except Alaska and Montana. Although there are many options for curry in North America, when we would travel we usually ate at the places known for having a good steak or maybe ribs and I didn’t see curry on too many of those menus. Even though I’ve been to nearly every country in Europe, I haven’t really heard of a German curry or an English curry or even an Italian curry.  I’ve found that most people (myself included) don’t travel outside of their culinary comfort zones.

Nowadays I sample different curries whenever I have the chance. I love curries from Thailand, India, Africa and Japan, but the one I make at home is almost always the same, because it is so consistently delicious and everyone I have served it to seems to love it. So I call it the Love Curry. According to Chef Todd’s recipe it’s an Indian vegetable curry.

The reason I call it the Love Curry, is that whenever we have a friend or a family that we know that is going through a challenging time, we make a big batch and eat some our selves and give some to the family in need. A lot of times its a family who just had a baby, but this last time it was a family who had someone in the hospital for a few weeks and he was just coming home. So Chelsea offered to make them dinner. As soon as she told me I said, let’s make curry!

It’s easy to make, it just takes a lot of prep, which I love. When I’m chopping the vegetables, I think about who I’m making it for, even if it’s just Chelsea and the boys and I put love into it. Now that may sound strange to some of you and it would have to me back in the day, but as I’ve found a love for cooking and talked to some of the most amazing chefs and watched chefs on cooking shows, I hear it all the time. The best chefs in the world talk about putting love into their food. I truly believe you can taste the difference between food that was made with love, versus food that wasn’t.

I wanted to share the recipe here so anyone who knows someone or a family in need or maybe a nurse or single mom, could make them some Love curry and enjoy some themselves. Or maybe you just want to show some love to your self or your own family. Either way, here is the recipe.

I usually make a lot of it, so I would cook it in a Dutch oven or the biggest pot you have. I prep all the vegetables first, because I think it makes it easier when putting it all together. 

You will need Coconut oil, coconut milk, salt, curry powder, turmeric, ginger, onion, carrots, sweet potato, potato, butternut squash, cauliflower, green beans, peas and cashews. 

First, heat the coconut oil in the pot and add the onions, then the carrots.

Then add the potatoes, sweet potatoes, butternut squash,  and grate the ginger. 

Next, add the coconut milk and spices including salt. Cover and cook these vegetables for about 20 minutes until soft. 

Finally add the cauliflower, peas and green beans and let it all simmer together. 45 minutes is ideal, but it can be done in 30. The longer the better in our opinion, so all the flavors can meld together. At the very end, right before I serve it I add cashews. This gives it a perfect little crunch. 

So you’re getting 7 or 8 vegetables and it’s healthy, filling and delicious. We have it over either quinoa or basmati rice. It’s also great the next day as leftovers.

From our family to yours. Enjoy!

Grow your own

Right in the center of my vision board are the words Farm to Table. The further along my yoga path I have come, the more this means to me. Eating consciously. Locally grown, seasonal, organic…you know, the good stuff.

20140426-155037.jpg

Since I live in Manhattan Beach, where outdoor space is hard to come by, having a farm is not an option. There is very little land here that is not beach or home. Few people even have yards. That means if you want to enjoy farm to table you rely on the farmers markets, which are amazing. However, my intention when I put it on my vision board was to have the farm myself. My grandfather was a farmer and he advised me at a young age to not take up farming as a career. So actually what I really meant when I set it as an intention is to grow my own food…at least some of it. Garden to Table is more accurate. With limited space you have to be creative in order to make this happen, but I’m here to tell you, it can be done!

We are fortunate enough to have a balcony, so we can grow things in pots.

20140430-141643.jpg

Sure it would be nice to have a big yard with a garden, but you do the best you can with what you have. As a lover of food, I can honestly say, I am hard pressed to find something more satisfying to my taste buds and to my soul, as food that I plant, take care of, harvest, cook and eat myself.

I believe there are several factors for this. First of all it’s 100% organic! Next, there is hardly any carbon footprint. Except for when Chelsea and I went to the Garden Center in El Segundo to get the seeds and soil. Third, it’ seasonal and finally they were grown and cooked with love and I truly believe this has a positive effect.

20140426-161541.jpg
We planted the beets and kale out on our balcony, along with some sweet potatoes that our friend Berit gave us. I have been on a morning meditation kick and I usually do it outside near the plants. It has been a nice practice, spending a few minutes sitting quietly in the morning, connecting to my breath, listening to the birds sing amidst the drills, saws and hammers from the construction next door. Then getting up and looking after the plants. Watering them and watching for bugs, trimming off the dead leaves, etc.

Meditation and gardening have this in common…to get the most benefits, consistency is key. You can’t just meditate once or water the plants once and expect results. However, when done on a consistent basis over time the benefits of meditation are a greater sense of peace and joy. The benefits of gardening are beauty from the flowers and food from the plants. So, after just a few weeks, it was time for a joyful food harvest. I decided to make Kale chips and beet greens with my bounty.

20140426-165937.jpg
The beet greens were surprisingly delicious and easy to make. I cut the leaves in half and chopped up the stems into tiny quarter inch pieces. Sometimes I toss them in the skillet with a little olive oil, salt and pepper and after a couple of minutes they are sautéed and ready to enjoy. Tonight I added them to a stir fry Chelsea was making using coconut oil and veggies from the farmers market.

20140428-224323.jpg
The kale chips were almost just as easy and even more delicious. I used my friend Katie B’s recipe. Katie Bressack Heat the oven to 425, trim off the stems and toss the kale lightly in olive oil, sprinkle with salt and spread onto a baking sheet.

20140428-220708.jpg
Place into the oven and keep an eye on them. They only take a few minutes and the difference between good and un edible happens fast. When they are crisp, they’re ready. Crunchy and yummy. What a great way to enjoy veggies!

Both the kale chips and beet greens satisfied my taste buds and my soul. The fact that I planted, tended to, harvested and cooked, made them even better.

20140426-164520.jpg>